The key indicators that your vehicle’s window tint needs changing are visible signs of wear, including bubbling, peeling, fading, and scratches. Often, these issues stem from factors such as inferior materials, exposure to harsh conditions, poor maintenance and the relentless march of time. But don't be fooled; seemingly simple signs like slight discoloration or tiny bubbles could signify a more severe underlying issue, potentially leading to reduced effectiveness of your window tint. Nonetheless, this occurrence is entirely normal and should not be a cause for worry. Take it as a sign signaling you towards the upcoming section.
The top signs include bubbling or peeling, fading or discoloration, scratches or damage, difficulty seeing clearly while driving, and potential legal issues due to overly dark tint. If you notice any of these signs, it is recommended to have a professional inspect and potentially replace the window tint.
Identifying Damaged Window Tint
Bubbly, peeling, faded, or scratched—damaged window tint can manifest in various ways. These telltale signs are more than just cosmetic flaws; they point to potential issues that extend beyond the surface.
Bubbling and peeling are common indicators that something is amiss with your window tint. This can occur due to several factors: improper installation, use of subpar materials, prolonged exposure to excessive heat, or simply as a natural result of aging. When the adhesive bond weakens due to one or more of these issues, the film starts bubbling or peeling at the edges and corners. It not only mars the aesthetics but can also obstruct your view, making it a potential safety hazard on the road.
Furthermore, prolonged exposure to UV rays frequently causes fading or discoloration of window tint. Environmental factors and harsh cleaning products make this impact worse. Over time, the once sleek and dark tint may appear worn out, losing its appeal and effectiveness in blocking sunlight.
Imagine trying to enjoy a scenic drive only to find that your window tint is marred with scratches and damage. These blemishes might result from abrasive cleaning materials, accidental contact with sharp objects, or being subjected to extreme weather conditions. Not only do they diminish the aesthetic value of your vehicle's windows, but they can also compromise the functionality of the tint.
These signs aren't just aesthetic eyesores; they provide important information about potential safety hazards and diminished functionality of your window tint. Understanding these signs allows you to take proactive measures before they escalate into larger problems.
How Age Affects Tint Longevity
The age of your window tint plays a significant role in determining its durability. When it comes to the lifespan of window tint, several factors come into play. For instance, the quality of the tint itself is paramount. High-quality tints are typically designed to last longer, while lower-quality tints may begin to deteriorate earlier.
Additionally, the climate in which the vehicle is primarily used also influences the longevity of the tint. In harsh and sunny climates, where UV radiation and extreme temperatures are common, tints tend to degrade more quickly compared to vehicles driven in milder and more temperate regions. Exposure to intense sunlight can cause the adhesive of the window tint to weaken over time, thereby reducing its effectiveness.
Factors Influencing Tint Longevity
- Quality of Tint: High-quality tints last longer
- Climate: Hot and sunny climates lead to faster degradation
On top of that, regular maintenance practices can significantly prolong or diminish the lifespan of your window tint. This includes cleaning it properly without using abrasive materials or harsh cleaning products that can damage the film.
For example, if you're diligent about cleaning and caring for your tint, you can expect it to last closer to its estimated lifespan. On the other hand, neglecting proper care or using aggressive cleaning methods can lead to premature deterioration.
It's also important to note that driving frequency has an impact on the longevity of window tint. Vehicles that are used heavily and frequently are likely to experience more wear and tear on their tints than those that are only used sparingly.
In conclusion, when it comes to evaluating
the longevity of window tint, it's essential to consider various factors such as the quality of the tint itself, environmental conditions, regular maintenance, and driving frequency. These elements collectively contribute to the overall lifespan of your window tint and should be taken into account when determining if it's time for a replacement.
Evaluating the Existing Tint Installation Quality
When assessing the quality of your existing window tint, it's crucial to carefully inspect for specific indicators that could indicate a need for replacement. One prominent sign to watch for is the presence of stubborn air bubbles that don't seem to vanish, even after time has passed. While it's normal to have water bubbles that don't squeegee out during installation, the persistence of air bubbles indicates a problem with the initial installation or the quality of the tint.
It's also important to keep an eye out for hazy or discolored areas on the tint. These problems are frequently the result of prolonged exposure to UV rays and can reduce UV protection, impairing both the tint's appearance and functionality.
If you find yourself having difficulty rolling down your windows due to obstructive tint film, this could be a clear indication of an improper installation or the use of excessively thick or inferior-quality tint. Oftentimes, adhesive from poor-quality tints can interfere with window regulator operation, creating unwanted friction and resistance.
Another aspect to consider is whether your tint is in compliance with local laws and regulations. Some jurisdictions have specific requirements concerning visible light transmission percentage, reflectivity levels, and restrictions on windshields and front-side windows. Failure to comply with these regulations can result in fines or legal action. Therefore, if you suspect that your current tint may not meet legal requirements, it's essential to have it professionally assessed and replaced if necessary.
Imagine driving on a particularly sunny day and realizing that you're struggling to see clearly through your car windows. This could be attributed to an overly dark tint or issues with dirty or damaged windows. In such cases, it's vital to have your window tint inspected by a professional as soon as possible.
Additionally, scratches or damage to the window tint can also warrant attention. These imperfections may result from abrasive cleaning materials, sharp objects, extreme weather conditions, or improper installation. By keeping a vigilant eye out for these indicators, you can proactively address any potential issues with your window tint before they escalate into more significant problems.
Protecting Your Vehicle from Sun Damage
Exposure to sunlight can cause significant damage not only to your vehicle's interior but also to its window tint. The constant onslaught of UV rays can lead to the fading and discoloration of the tint, affecting its appearance and performance over time. It's like how leaving your car in the sun causes the dashboard to fade and crack.
Consider this: When you leave a piece of paper out in the sun for too long, it becomes discolored and brittle. The same happens to your window tint when it's exposed to UV rays day after day.
There are practical steps you can take to protect your vehicle and its window tint from the harmful effects of sun exposure. One simple strategy is to park in shaded areas whenever possible. This reduces direct sunlight exposure, preserves the condition of the tint and maintains the overall well-being of your vehicle's interior.
Moreover, investing in a car cover can provide an extra layer of protection when your vehicle isn't in use for extended periods of time. A car cover shields your car from direct UV exposure, helping to prevent fading or damage to the window tint and interior components.
Utilizing Sunshades
When driving or parking under direct sunlight, utilizing sunshades on the windshield and side windows becomes an effective strategy to minimize exposure to harsh UV rays. Sunshades act as a barrier, reducing the amount of direct sunlight that enters your vehicle, thereby prolonging the lifespan and functionality of the window tint.
Think of sunshades as sunscreen for your car. Just as sunscreen protects your skin from harmful UV rays, sunshades provide a barrier between intense sunlight and your vehicle's interior, including its window tint. By understanding how to shield your vehicle from sun damage, you're not only enhancing the longevity of your window tint but also maintaining the overall value and appeal of your vehicle.
Facts About Window Tint Quality
When it comes to selecting window tint for your vehicle, you must understand the essential aspects of quality. High-quality window tint provides excellent UV protection, preventing the interior of your vehicle from fading and deteriorating. This is especially crucial if you spend a lot of time driving under the sun, as UV rays can easily damage upholstery and dashboards, leading to unsightly discoloration and reduced resale value for your car.
Moreover, top-tier window tint offers exceptional heat rejection, making a significant difference in the interior temperature of your car during hot summer days. This not only enhances comfort but also reduces the strain on your air conditioning system, leading to potential savings in fuel consumption.
Beyond protection from UV rays and heat, high-quality window tint offers an added layer of privacy and security for vehicle occupants. By obstructing the view into your car's interior, it provides peace of mind and safeguards personal belongings from prying eyes.
Key Features of High-Quality Window Tint
When deciding on window tint quality, it helps to understand some key features:
- UV Protection: Premium window tint typically provides 99% UV protection, significantly reducing the harmful effects of UV radiation on both your vehicle's interior and its occupants.
- Heat Rejection: Quality window tint can offer heat rejection capabilities of up to 60%, resulting in a cooler interior environment and improved energy efficiency.
- Longevity and Reliability: High-quality window films have a longer lifespan, generally lasting 5-10 years without deteriorating or losing their protective properties.
For instance, imagine driving on a scorching summer day with low-quality window tint that barely blocks any heat or UV rays. You'd be left sweating inside a furnace-like car with potentially damaged interiors. In contrast, with high-quality window tint, you'd experience a more comfortable ride while ensuring the longevity of your vehicle's interior.
In addition to these benefits, opting for top-tier window tint is an investment in the overall well-being of your vehicle. It not only enhances the aesthetic appeal and functionality of your car but also contributes to maintaining its value over time. Considering all these factors, choosing high-quality window tint proves to be a prudent decision for vehicle owners looking to safeguard their vehicle's interiors, improve comfort, and ensure long-term durability.
Steps to Replace Your Window Tint
Replacing your window tint might seem like a daunting task, but with the right tools and careful attention, it can be a satisfying DIY project to take on. Let's break down the steps one by one.
Step 1: Removing the Existing Tint
To start, you'll need a solution of soapy water and ammonia to soften the adhesive holding the old tint in place. Apply the solution generously and let it sit for a few minutes, allowing the adhesive to loosen. Once the tint is sufficiently softened, carefully use a razor blade or scraper to peel off the old tint. It's important to be patient and take your time to avoid damaging the window surface underneath.
This step requires precision and care. Avoid using excessive force as it may scratch or even crack the glass. It's best to start from a corner and gradually work your way across, ensuring that the adhesive is adequately softened before attempting removal.
Step 2: Cleaning the Window Surface
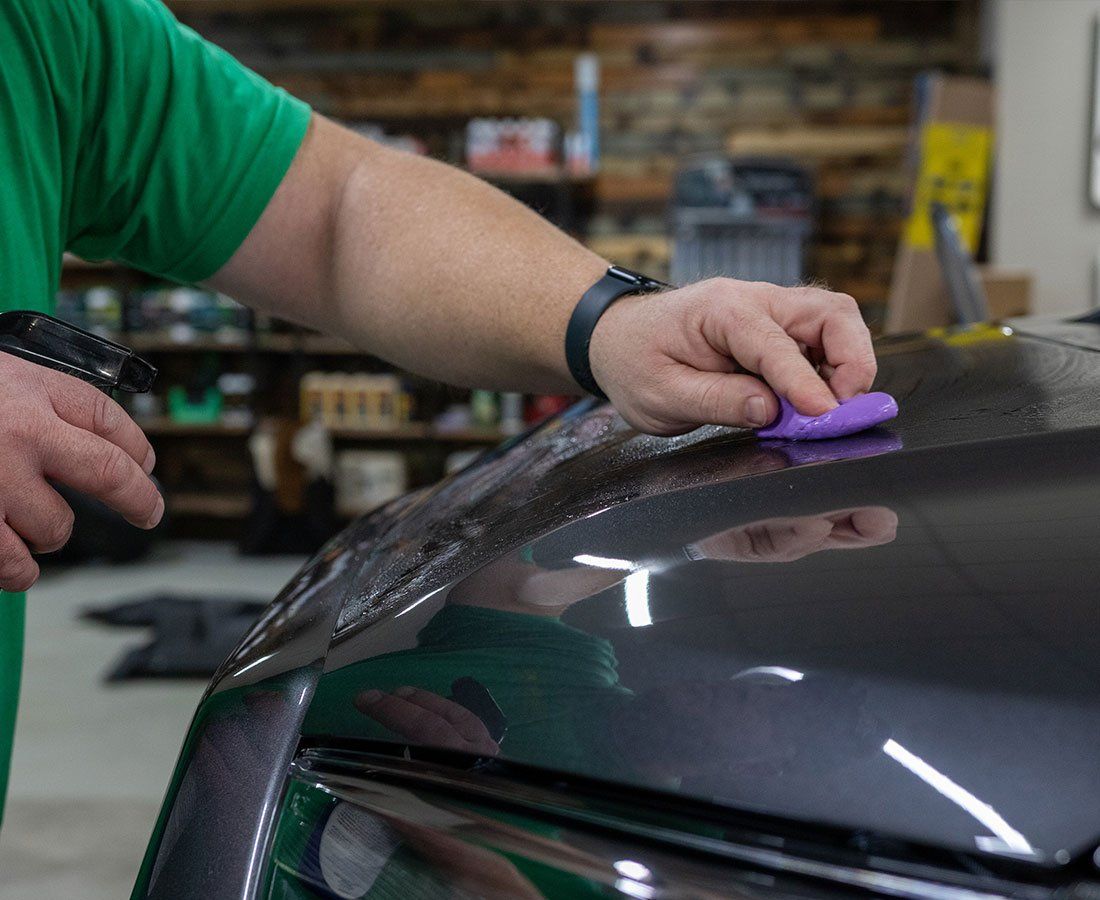
After removing the old tint, it's crucial to prepare the window surface for the new film. Using a non-abrasive cloth and a soapy water solution, thoroughly scrub the window to remove any remaining adhesive residue. The goal is to create a clean and smooth surface for the new tint to adhere to.
Take your time during this stage and ensure that all adhesive remnants are removed. This will not only provide a better surface for installing the new tint but also prevent any unsightly blemishes or air pockets that may occur if adhesive residue is left behind.
Step 3: Precutting the New Tint Film
The next step involves measuring and cutting the new tint film to fit the dimensions of the window precisely. This is an important step as accurate cutting is vital to avoid gaps and air bubbles during installation.
Ensure that you measure twice and cut once to achieve a perfect fit. Use a sharp utility knife and a cutting mat to carefully trim the tint film according to the exact dimensions of the window. Precision is key here, so take your time to achieve clean and accurate cuts.
Step 4: Applying the New Tint
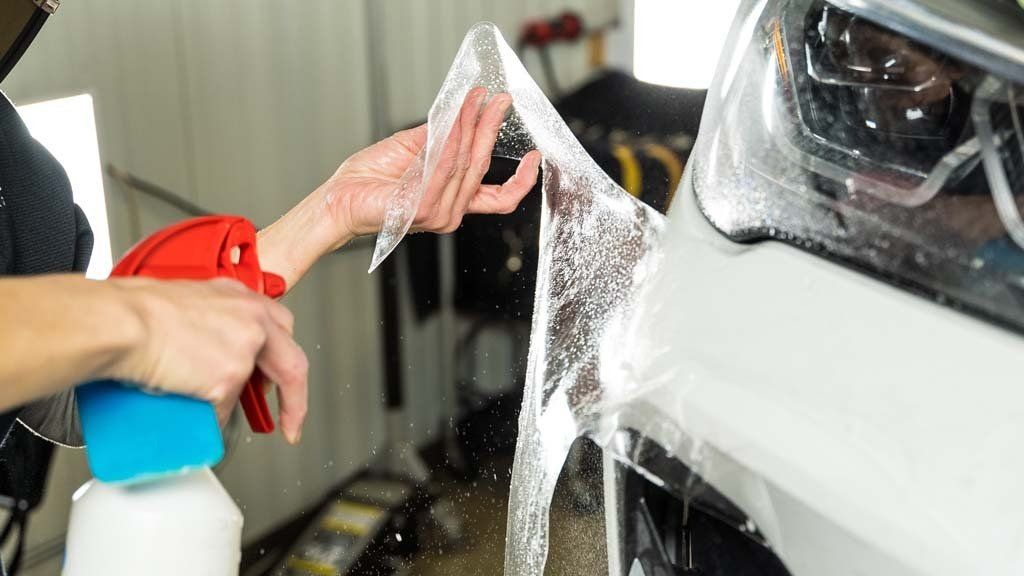
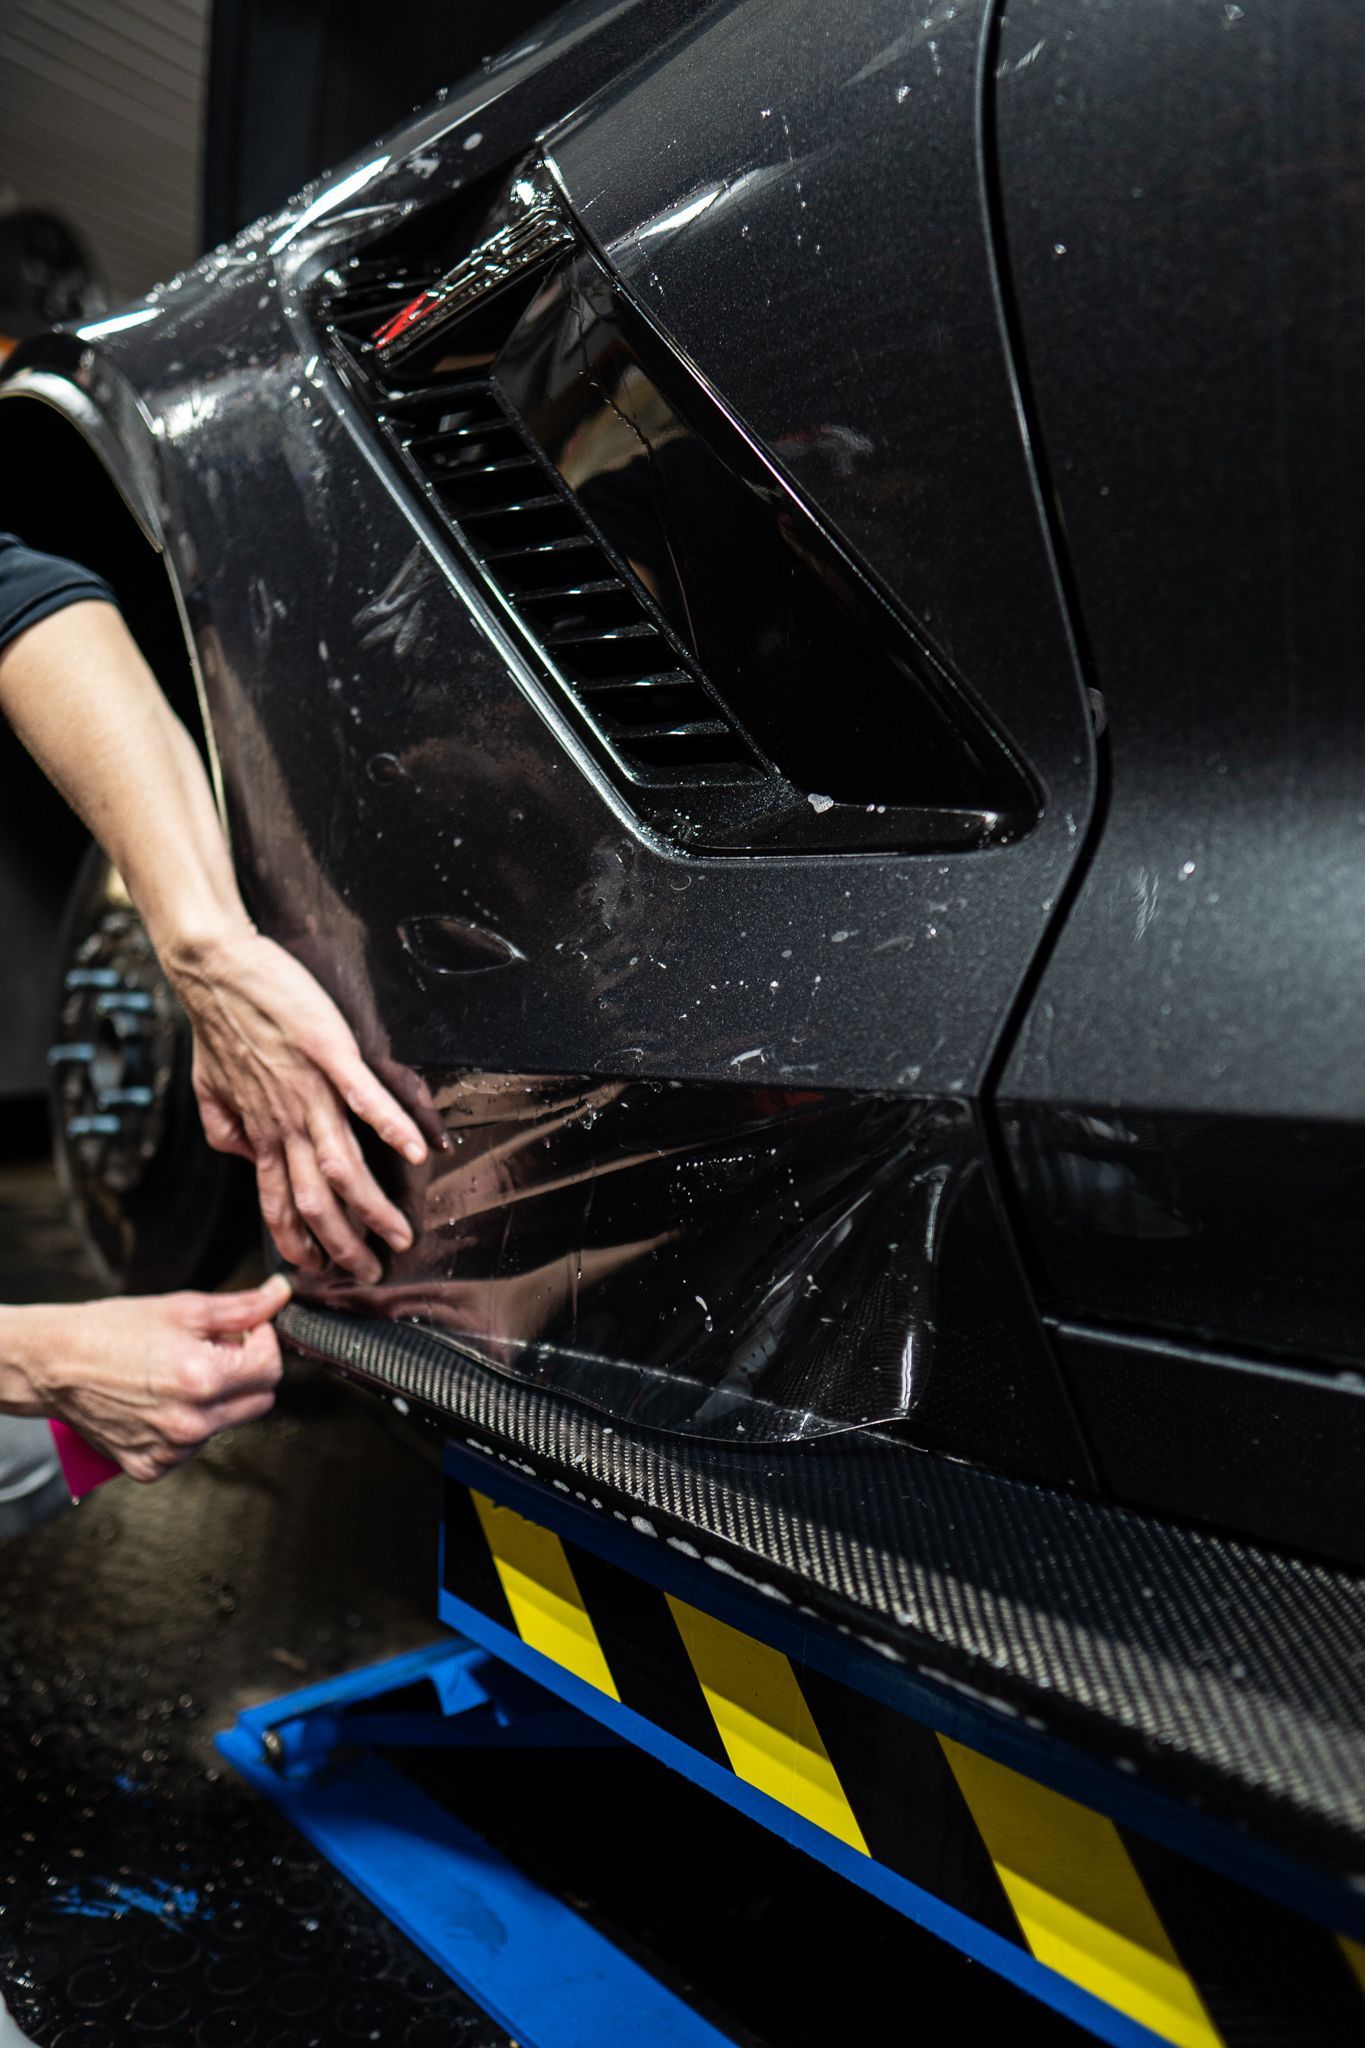
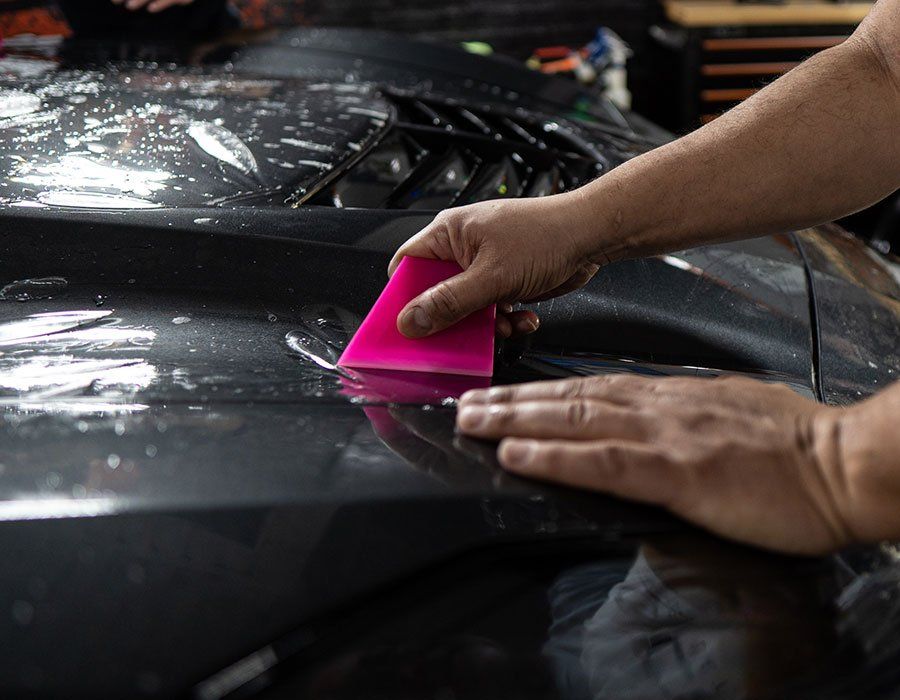
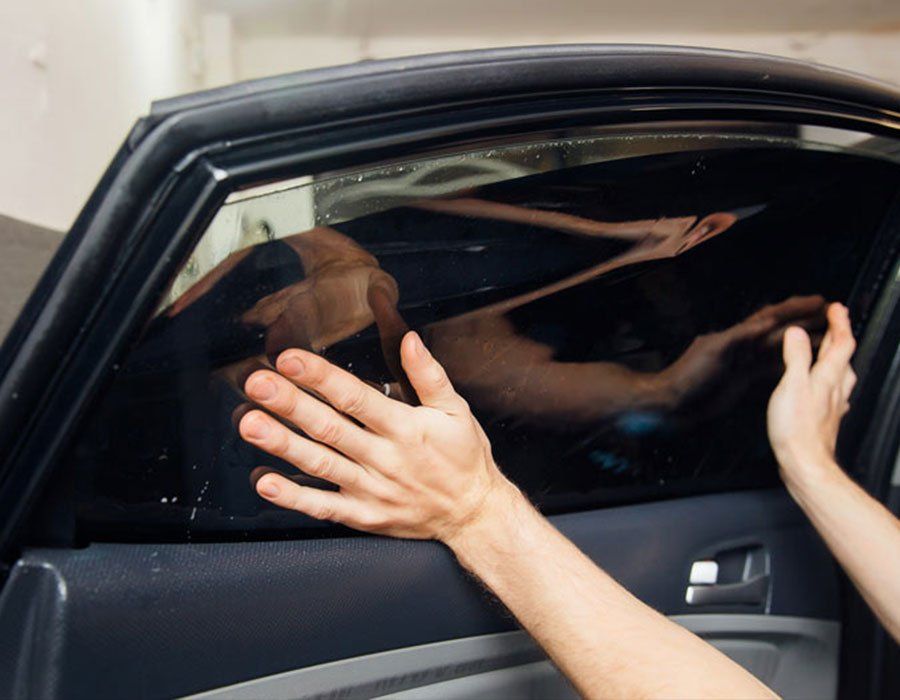
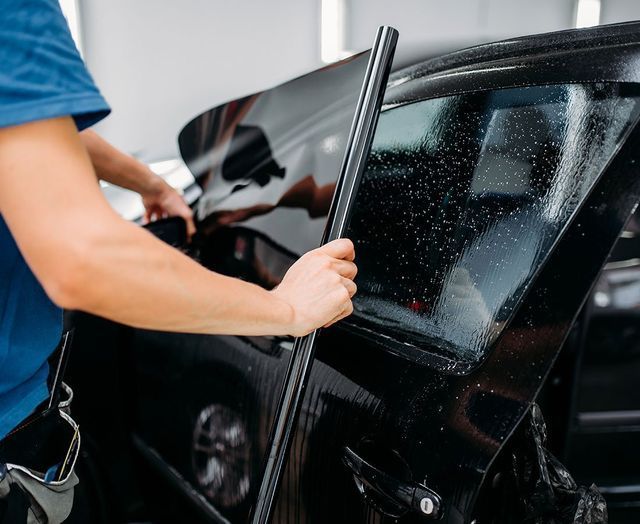
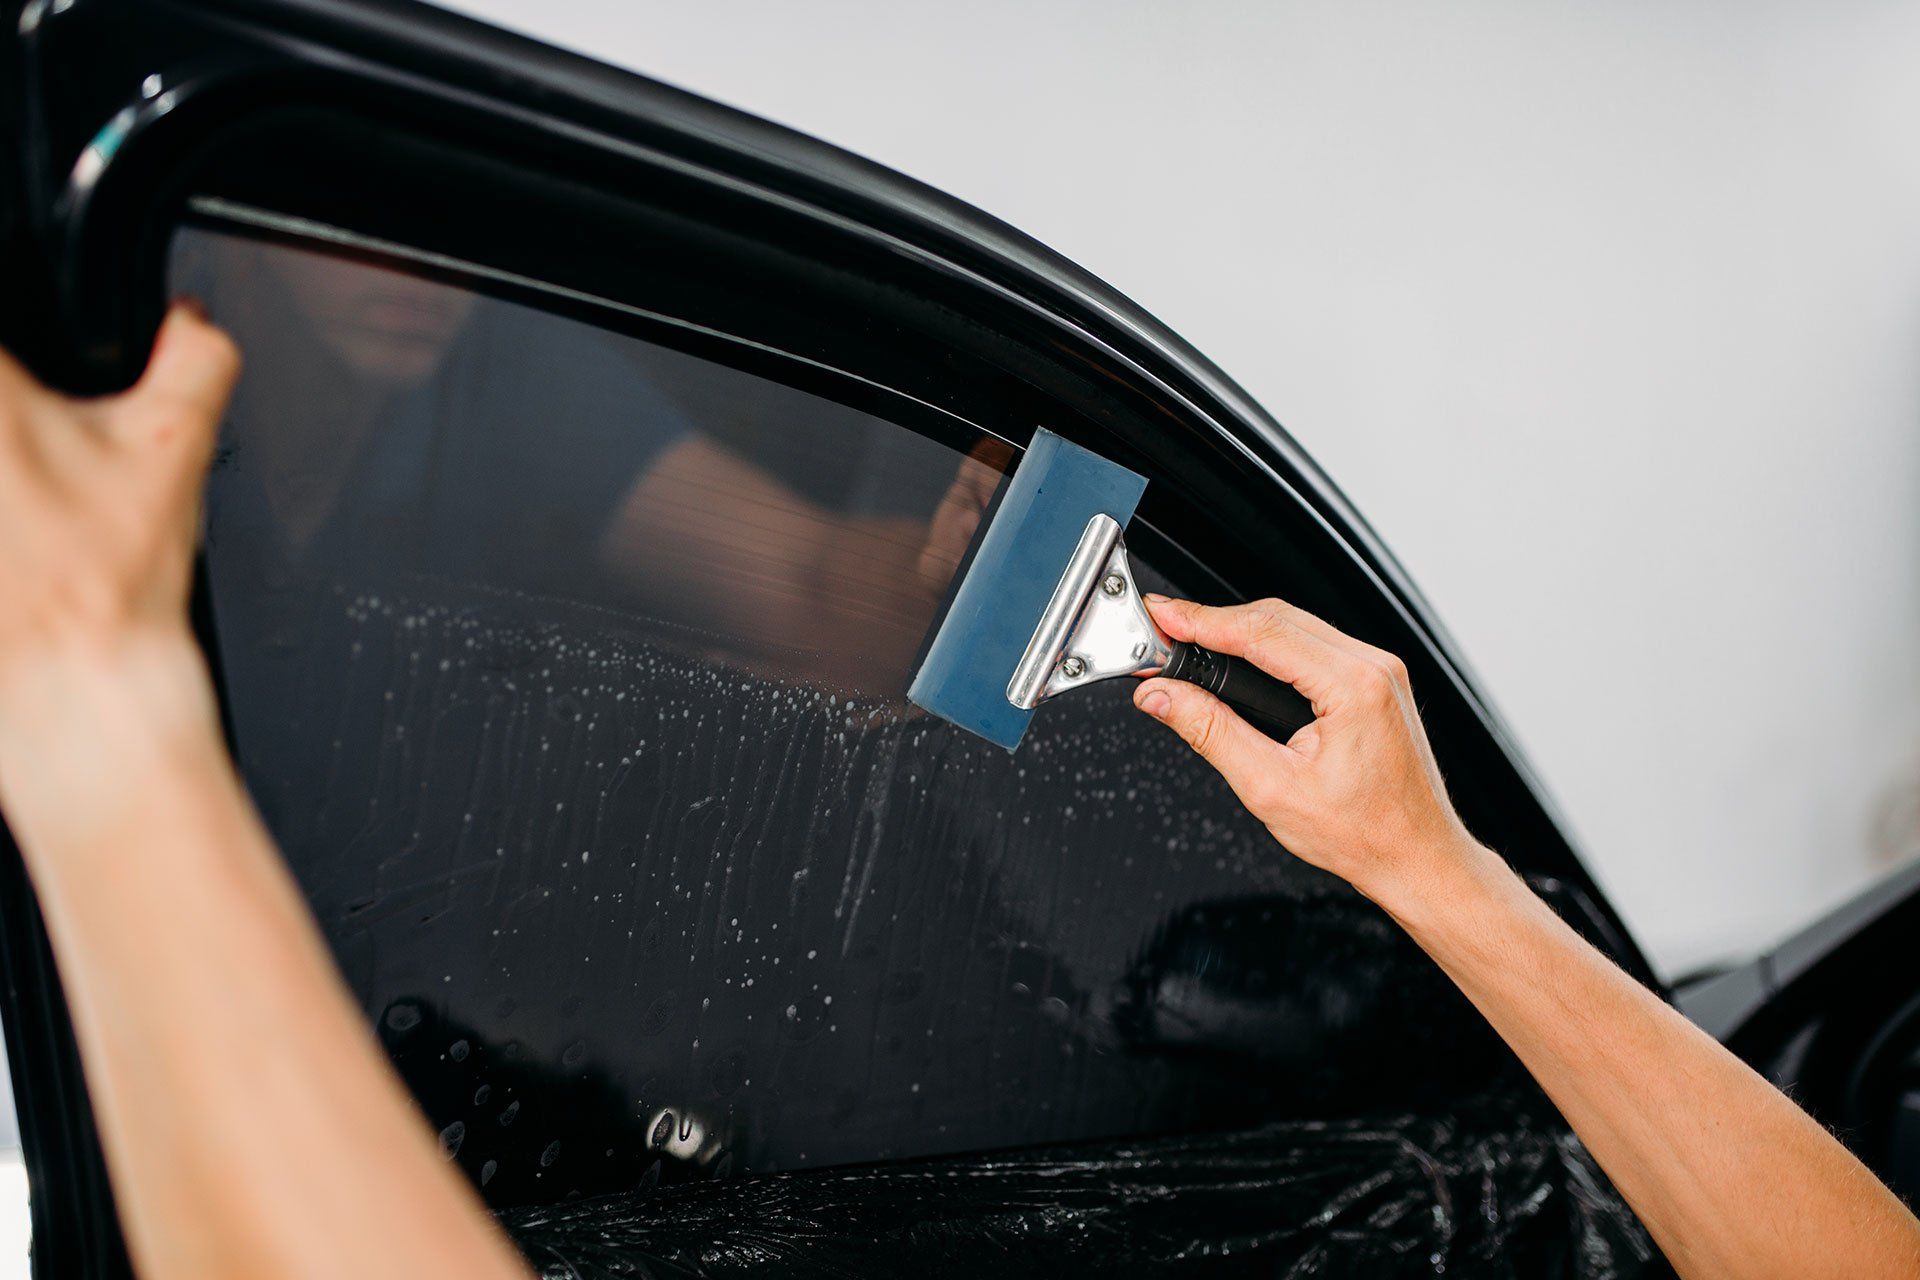
Now comes the crucial moment—applying the new tint film. Start by spraying a soapy water solution on the window which will allow for easier positioning and adjustment of the tint film. Carefully place the precut film on the window and use a squeegee to remove excess water, ensuring that all air bubbles are pushed out towards the edges.
Trimming any excess material from the edges will provide a seamless finish. Finally, allow adequate time for the adhesive to set before testing out your newly replaced window tint. Patience and attention to detail are key in this process; take your time during each step for a professional-looking result that enhances both aesthetics and functionality.
Following these meticulous steps will help you replace your window tint effectively, ensuring a clean and precise outcome that refreshes both the appearance and functionality of your vehicle's windows.
In taking on this DIY project, not only will you save money by avoiding professional installation fees, but you'll also gain hands-on experience in maintaining your vehicle. Good luck with your window tint replacement endeavor!
Exemplary Window Tinting Services in Tampa, FL
Looking to enhance the comfort, style, and privacy of your vehicle in Tampa, FL? Look no further than Auto Film Guys for top-notch window tinting services that exceed expectations. With a commitment to quality and precision, our expert technicians utilize premium materials and advanced techniques to deliver flawless results every time. Whether you want to reduce glare, block harmful UV rays, or add a sleek aesthetic to your ride, we've got you covered. Don't settle for subpar window tinting—trust the professionals at Auto Film Guys to provide unmatched craftsmanship and customer satisfaction. Schedule your appointment today and experience the difference for yourself!
The Auto Film Guys Blog
